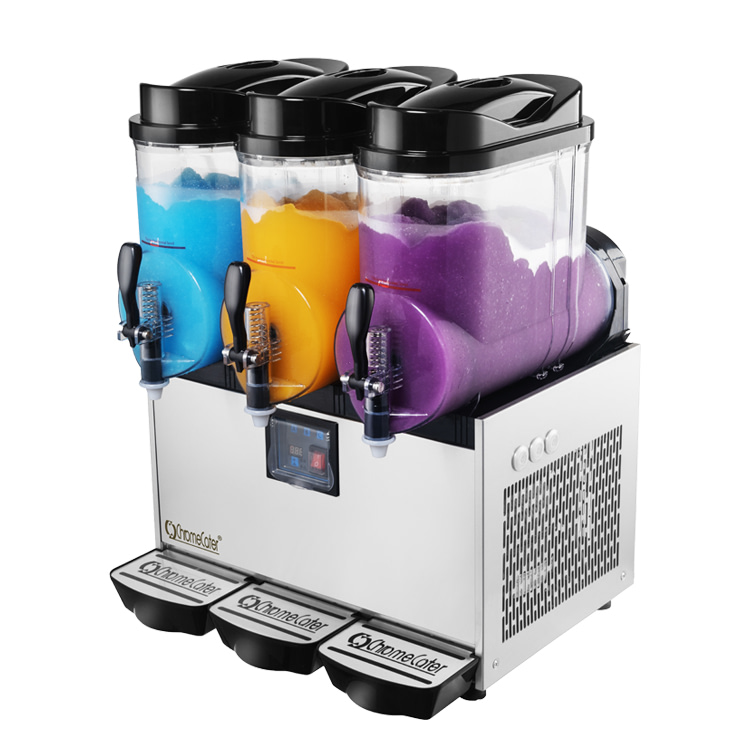
Owning a slush machine can be a game-changer for your business, bringing in substantial profits and a high return on investment. Prices for these commercial-grade machines typically range from R25K to R45K, reflecting their quality and profitability. As I was performing routine maintenance on my own slush machine in preparation for the upcoming warm weather, I couldn’t help but notice a surprising oversight: it lacked a basic counting feature. This inspired me to dive headfirst into a new project with full confidence and determination.
Recognizing the immense potential for improvement, I embarked on the journey to enhance these machines and make them even more efficient. I firmly believe that by integrating counting capabilities and sales record functionality, slush machine owners can unlock further success and streamline their operations. Get ready to revolutionize the way you do business with a slush machine!
Design challenges
Creating a counting function for this machine posed a significant challenge, as it required the development of an external add-on without any alterations to the existing structure. It was crucial to ensure that the integrity and functionality of the machine remained intact, without resorting to any invasive methods such as cutting, drilling, or hacking. However, the advantage of this approach was that it allowed for scalability, offering the potential to distribute the product to a wider audience in the future.
Getting to work
When it comes to product development, I like to get the hardware out of the way, and then deal with the firmware, and testing. The very first task was to design and fabricate the printed circuit board.
Now that I was done with the printed circuit board, it was time to work on the enclosure. Designing the perfect enclosure for my project proved to be quite a challenging yet exciting task. I wanted to ensure that the enclosure not only provided a secure and protective housing for the circuitry but also had an aesthetically pleasing design.
I started by sketching out different enclosure concepts, considering factors such as size, shape, and material. After careful consideration, I decided to go with a sleek and minimalistic design, opting for a durable plastic material that would offer both structural integrity and a modern look.
Next, I used computer-aided design (CAD) software to bring my ideas to life digitally. This allowed me to create detailed 3D models of the enclosure, enabling me to visualize how different components would fit together and make any necessary tweaks before moving on to the physical prototype.
Once I was satisfied with the digital design, it was time to prototype the enclosure.
After several iterations and refinements, I finally had a functional prototype that perfectly encapsulated my project. The enclosure not only provided a robust protective shell for the circuit board but also featured strategically placed openings for connectors, buttons, and indicators.
Now that the enclosure was complete, I could move forward with the final stages of the project, including integrating the circuit board into the enclosure, conducting thorough testing, and preparing for production.
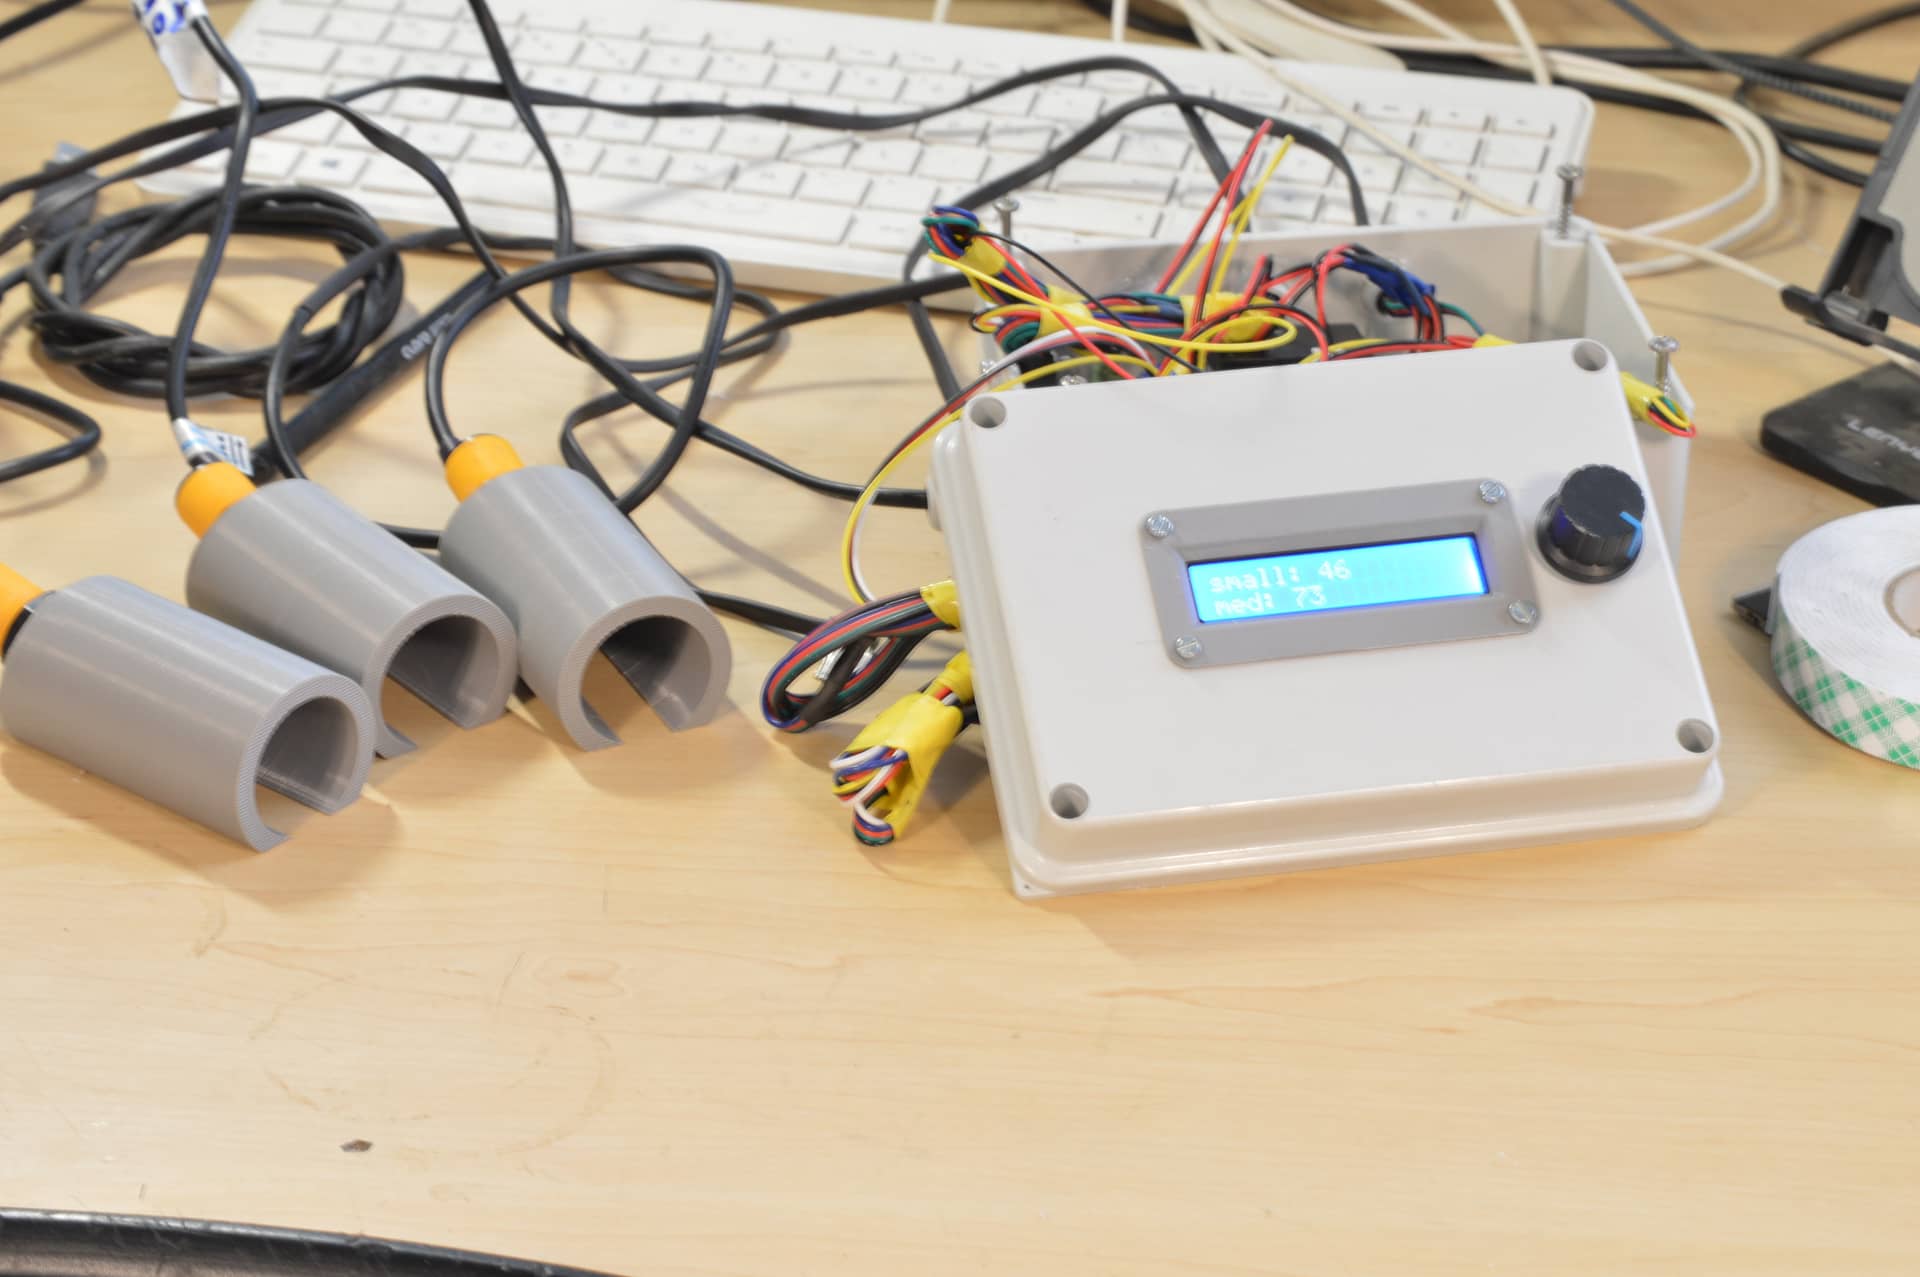
When it came to creating a robust and efficient setup for my sensors, I decided to take matters into my own hands. With the help of a 3D printer, I was able to fabricate custom parts that perfectly fit my needs.
Using computer-aided design (CAD) software, I meticulously designed the specifications for each sensor housing. This allowed me to tailor the dimensions, shapes, and mounting mechanisms to ensure a secure and stable fit.
With the design files ready, I loaded the filament of my chosen material into the 3D printer and witnessed my virtual designs come to life before my eyes.
Finally, I assembled the sensor housings, securing them precisely in the desired locations. The custom-made parts not only provided a professional and polished look to my sensor setup, but they also played a vital role in providing stability and protection for the delicate infrared proximity sensors.
Early stage testing
I now had a plan, and a good design to back it up, and so it was time to test this design before installing it on the machine. The working principle is that by using infrared proximity sensors I would be able to detect whenever the handle is being pulled which indicates that a drink is being poured. The circuit would then correlate the volume of the cup with the time in milliseconds that it takes to fill each cup.
Testing the design
Now that I was confident with the design, it was time to put it to the real test. I was confident with this design, it had no reason to fail, besides I have used these sensors before without any problems.
Upon activating the machine for the initial time, it became abundantly clear that these sensors were far from satisfactory. It quickly became apparent that they demanded meticulous fine-tuning and were extremely susceptible to the numerous reflective surfaces of the machine. At this point, I had devoted a significant amount of time and effort to this endeavor, and I must admit, I was seriously considering throwing in the towel. After all, this predicament had consumed the entire weekend, and my frustration levels were at an all-time high.
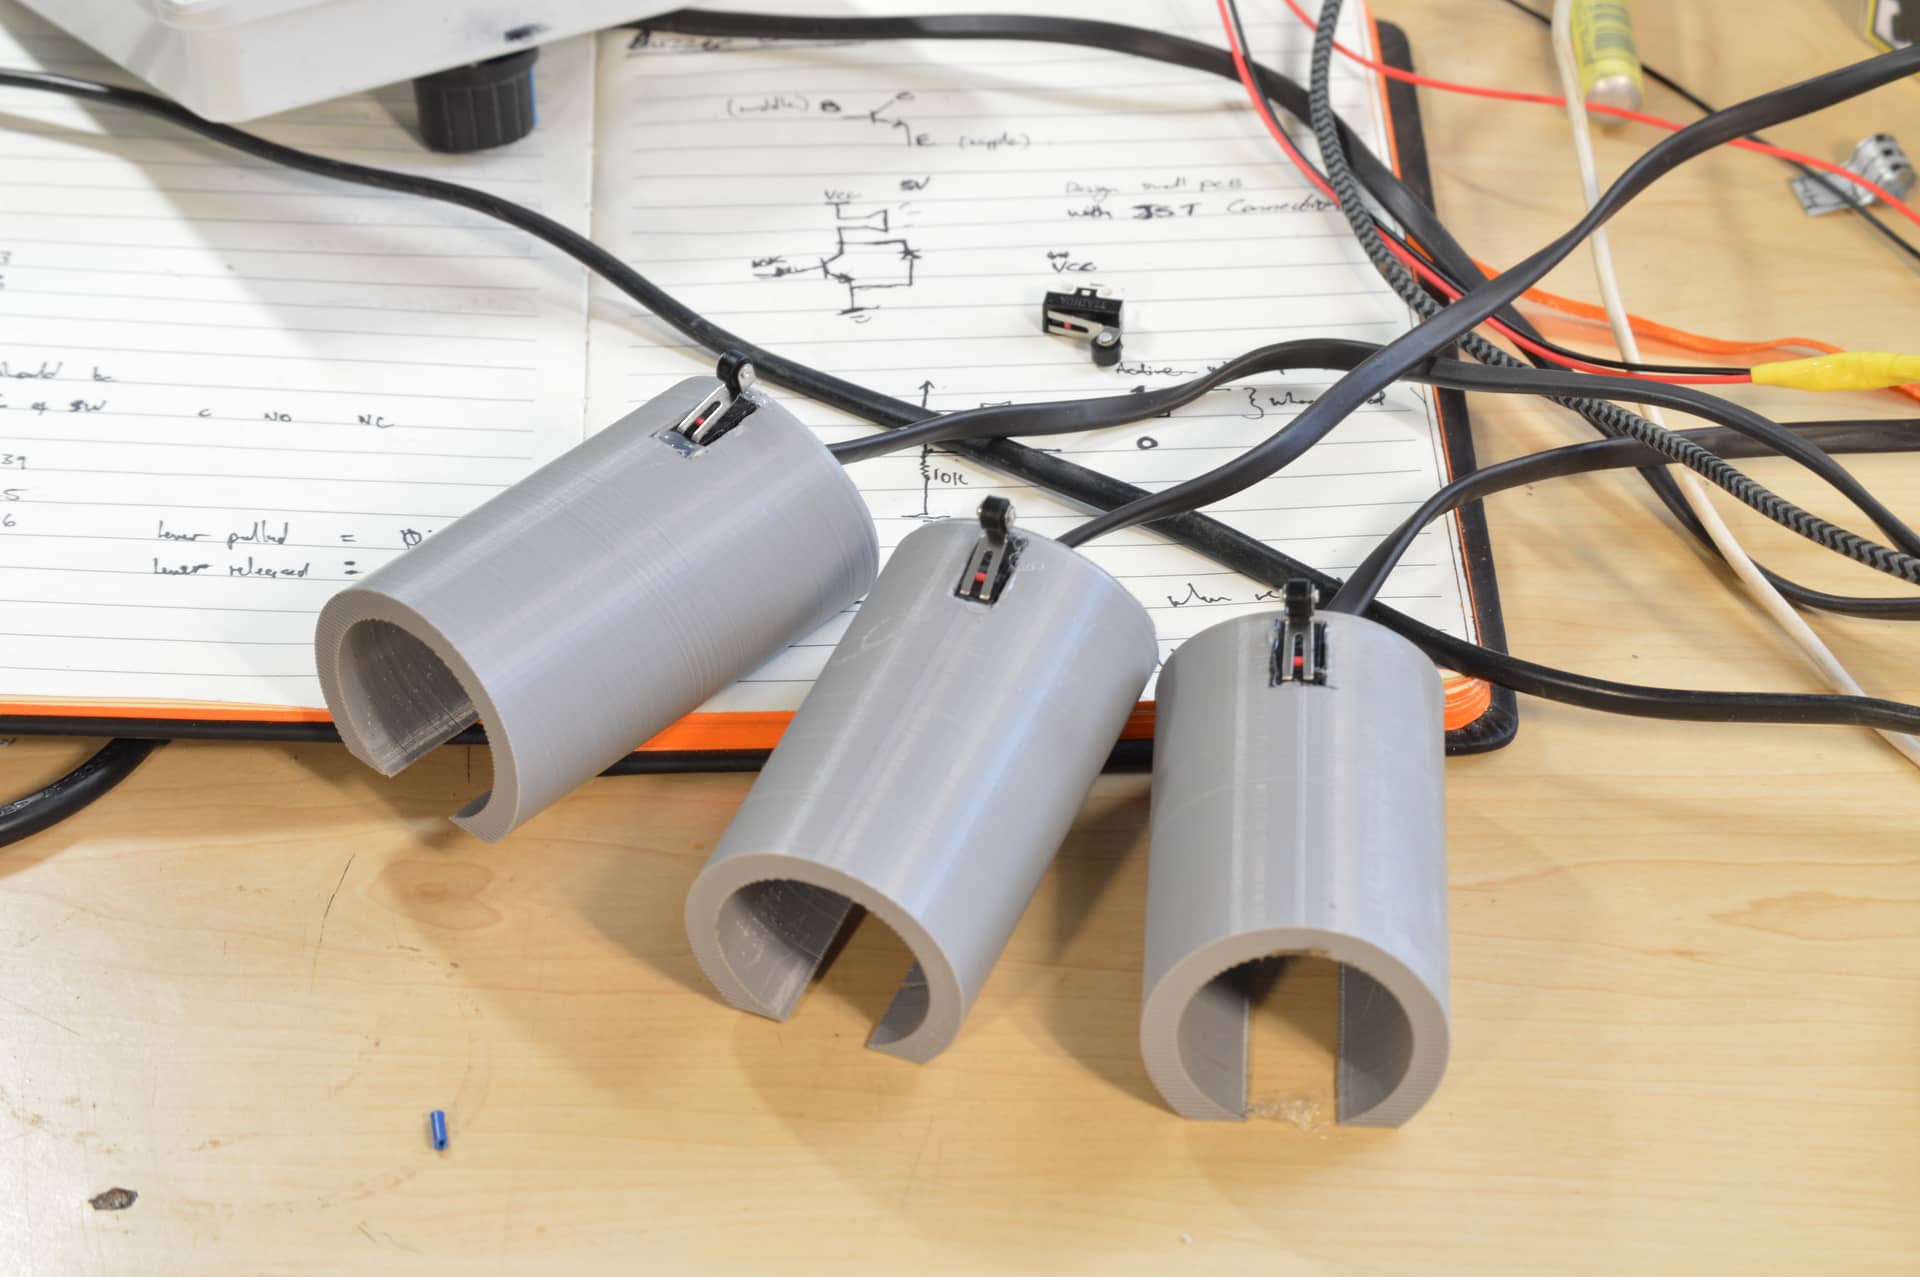
The comeback
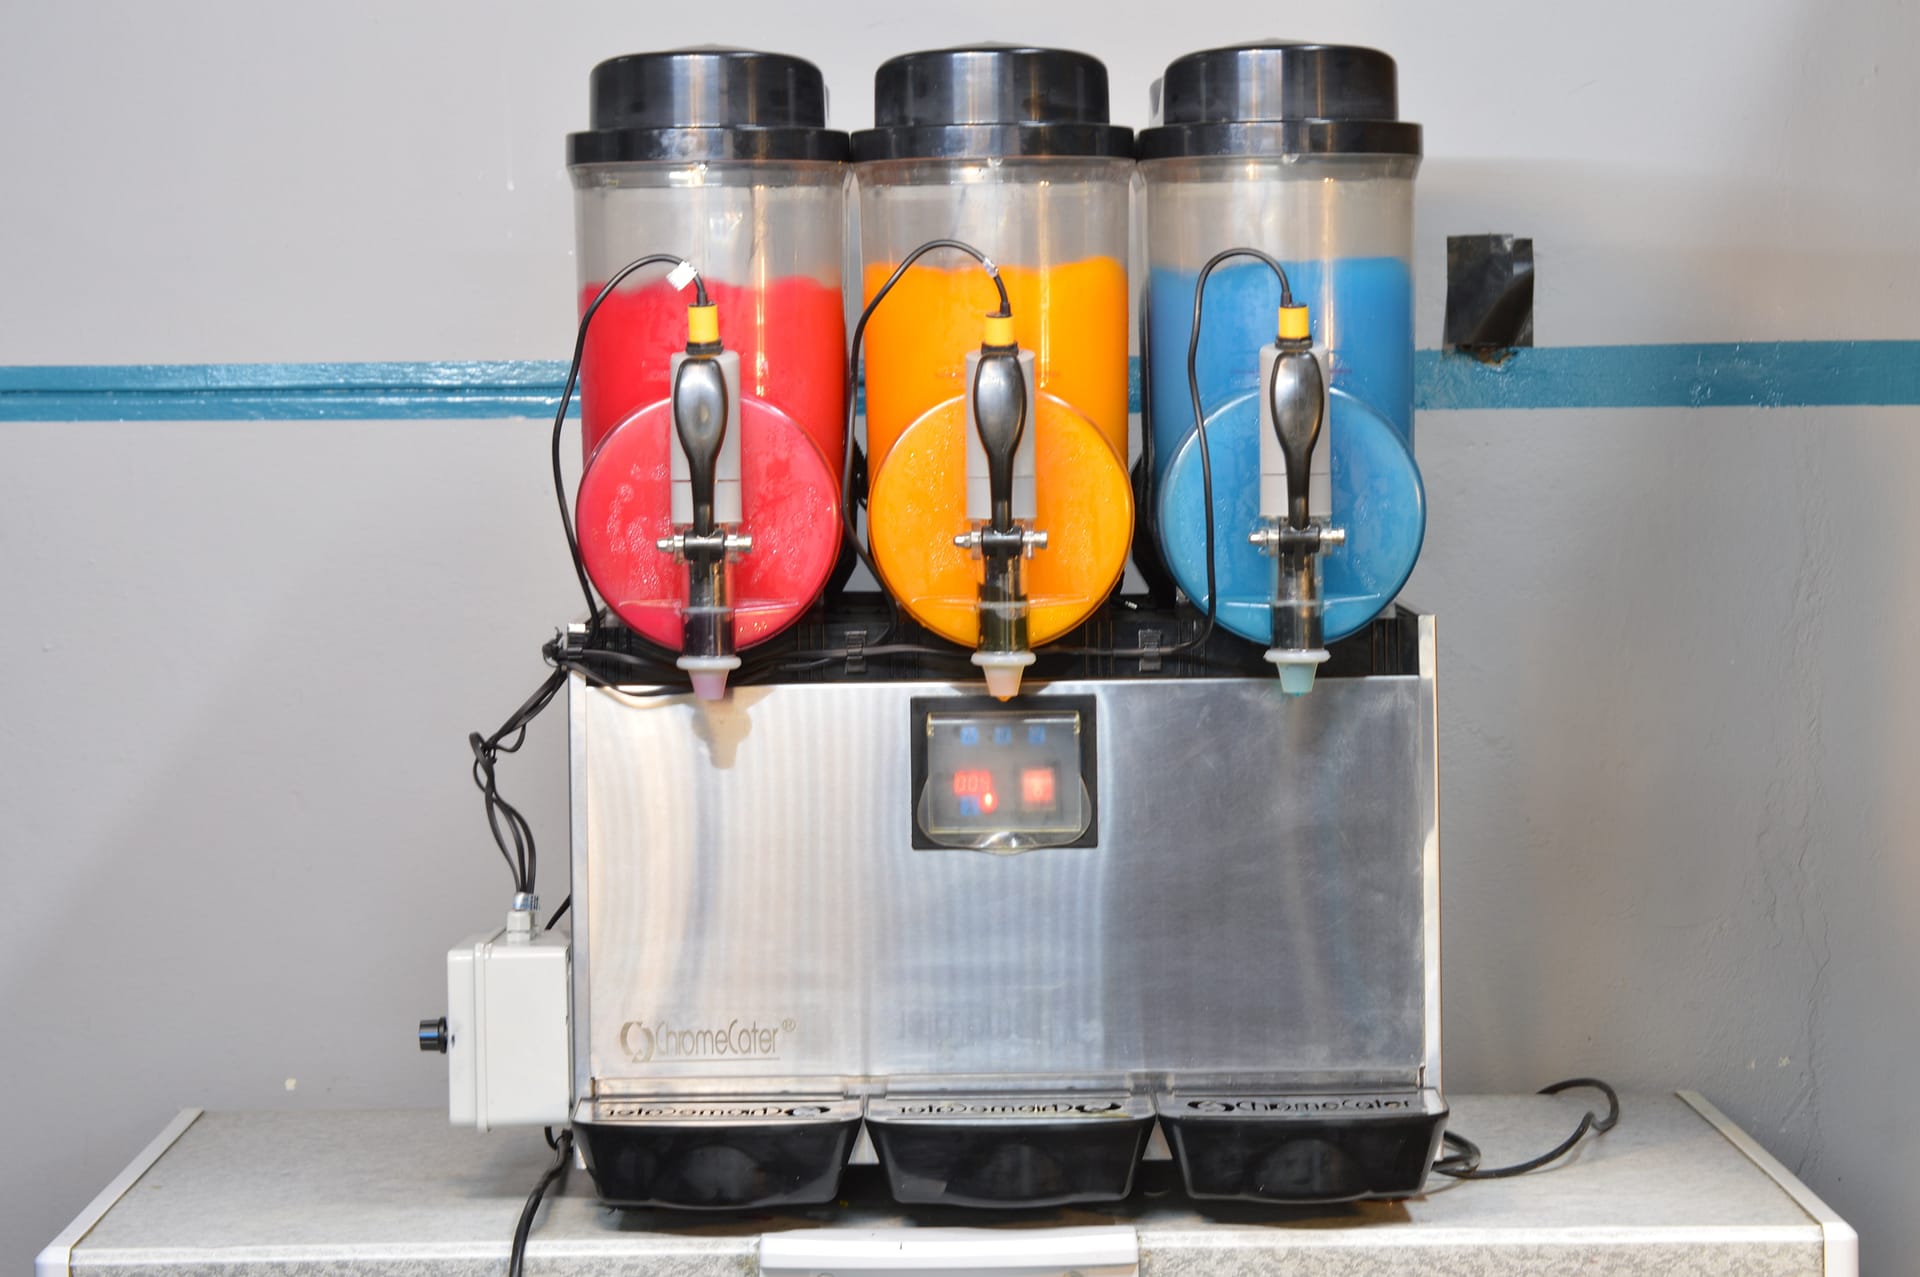
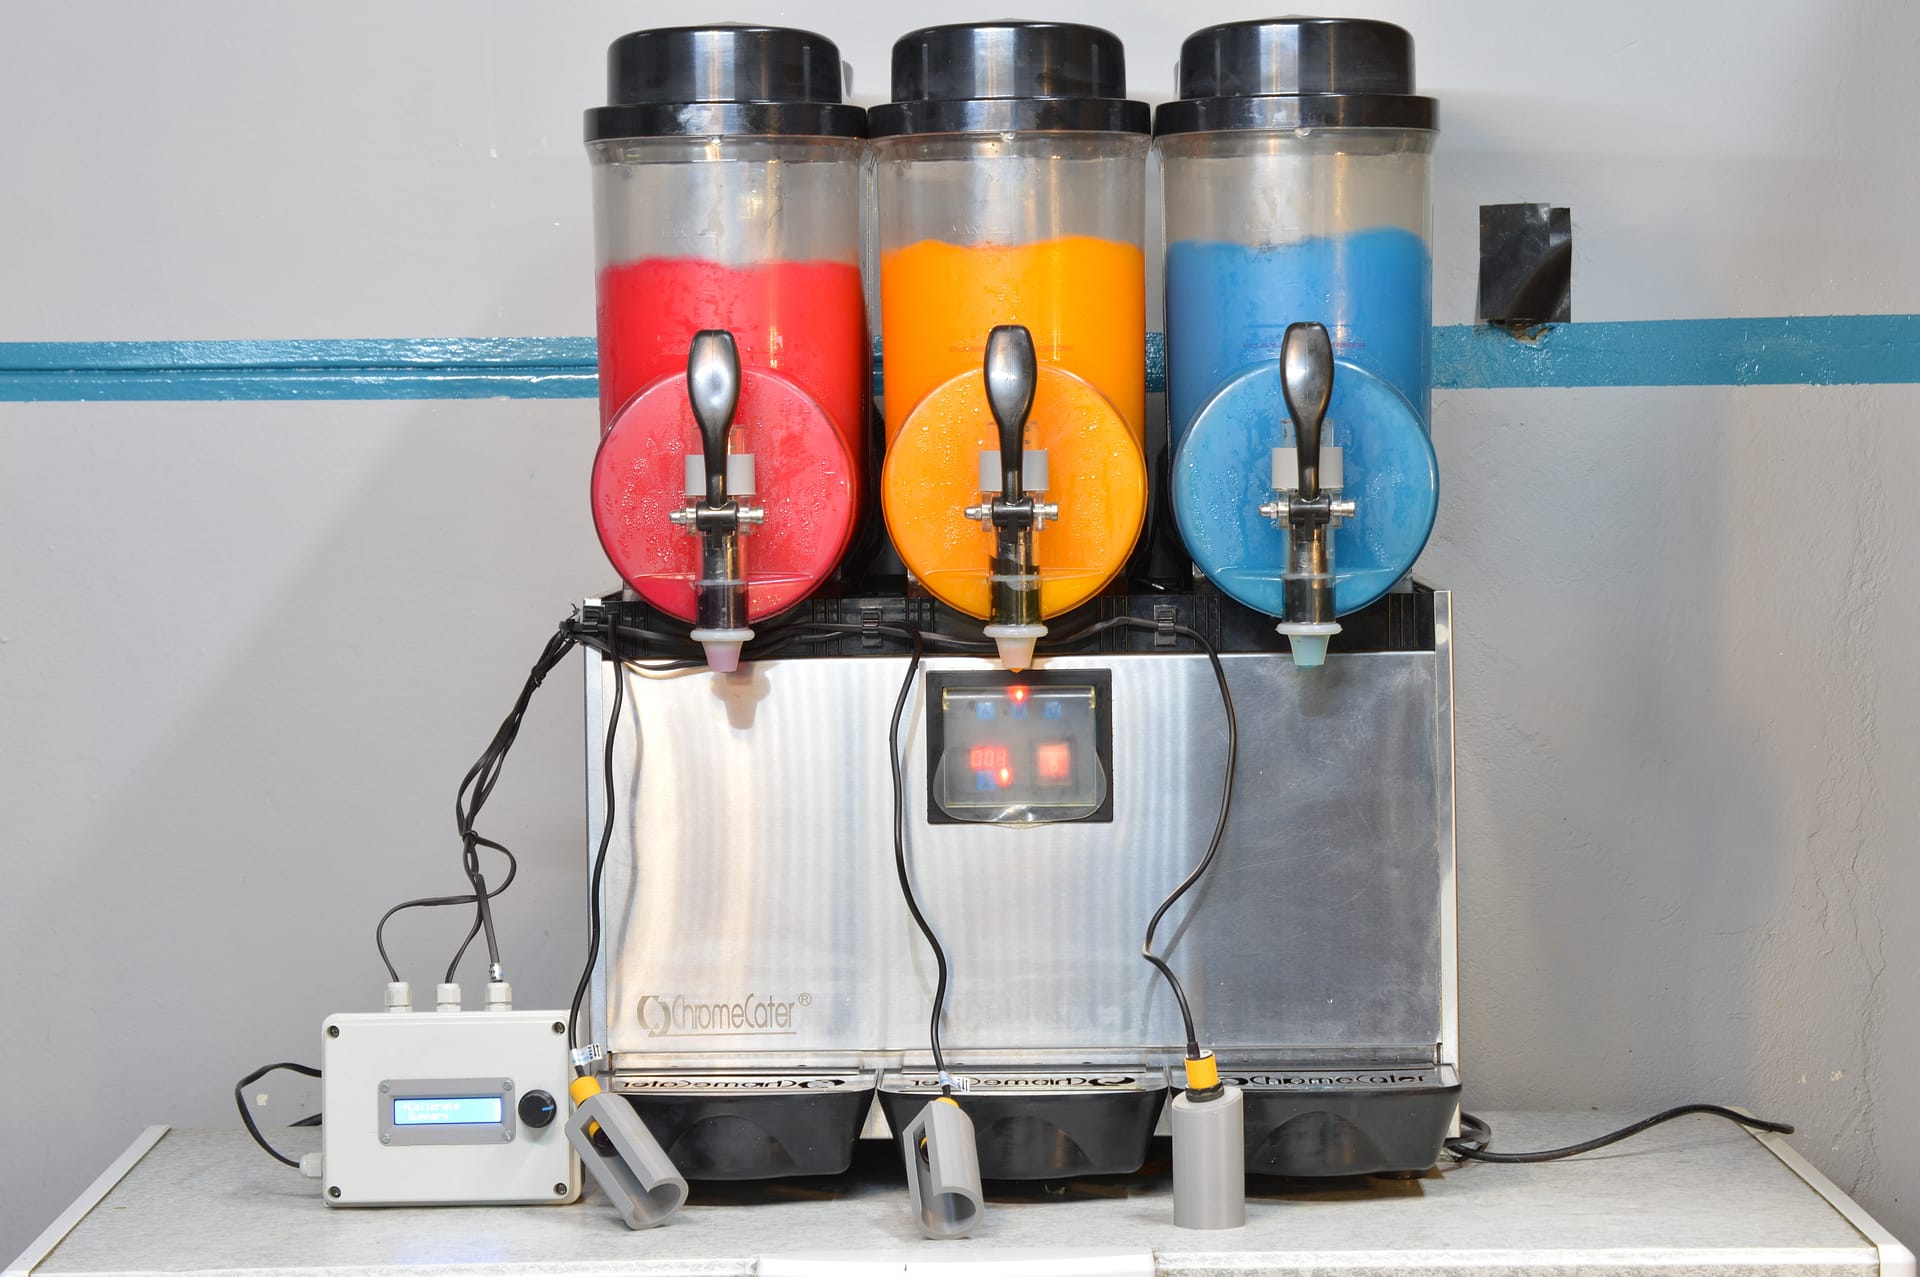
After a well earned rest, iIwould come back the next day and rethink my approach. I was running out of time. It then occured to me that I could modify my existing 3d printed parts without redesigning the whole thing, all that it would take is a small drill and a file. I now modified the existing 3d printed parts so that they could use micro switches. The microswitches are positioned in such a way that the lever of the slush machine rests on the switches, and when the lever is pulled the switches are activated.
This approach turned out to be a much cheaper alternative, and it worked perfectly. The upside to this approach is that it enabled the machine to detect if any of the sensors were removed during operation.
Testing the modified product
With the new updates to the sensors, it was now or never, I had to test the design.
Project outcome
Although the project came out satisfactory, it still needs a bit of work. The flow rate of the liquid changes as the slush hardens and softens, and this introduces margins of error in my readings since I had calibrated the system. The obvious way to fix this problem is to include other sensors into the mix such as liquid level sensors to help improve the accuracy of the machine.
Conclusion
Upgrading any machine with a counting feature presents an exciting opportunity to enhance its functionality and streamline operations. While it may pose certain challenges due to the various components and skills involved, the potential benefits make it a worthwhile endeavor. By integrating wireless monitoring into such systems, we can unlock new business models and open doors to a multitude of exciting opportunities. Embracing this upgrade can truly transform the way we monitor and optimize machine operations.
I hope you’ve enjoyed reading this article, as much as I’ve had a good time struggling to piece it together.